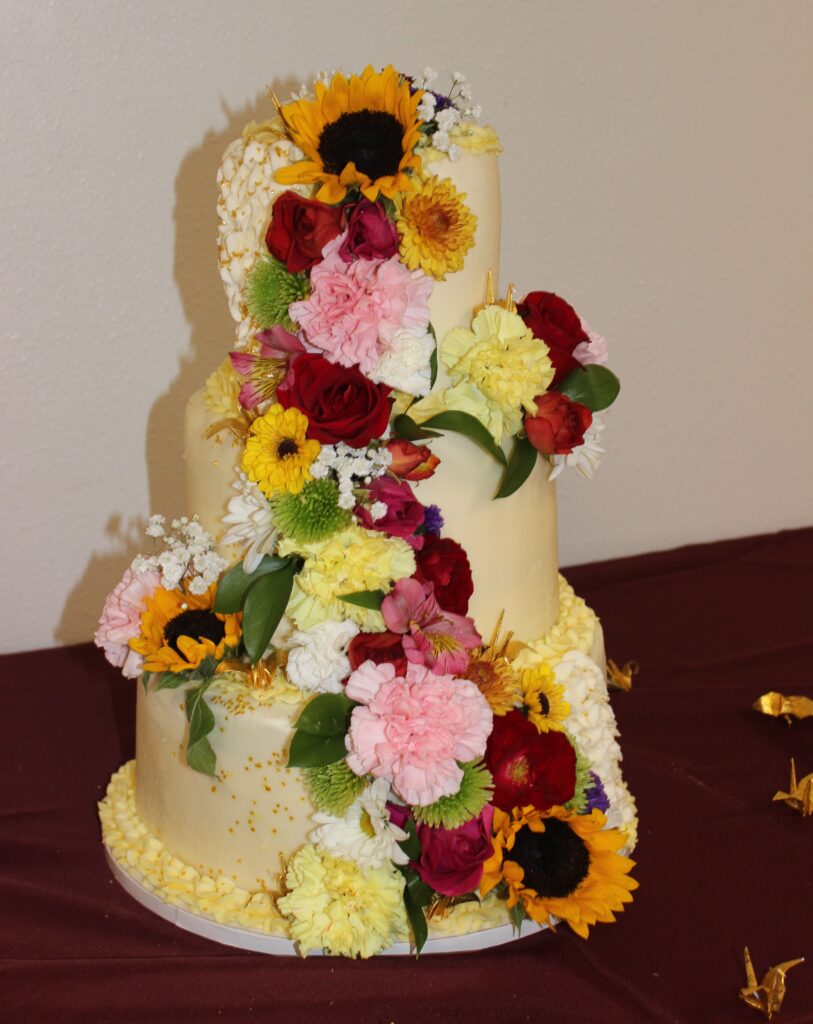
The day has finally come when I craft a cake for a genuine wedding. Knowing the cake was for such a special day was exciting and at the same time incredibly nerve racking. Since I was to help with some of the wedding prep aside from the cake, I wanted to make sure there was plenty of time to complete the cake. So we started approximately two weeks in advance.
The first week was baking. The top tier (6 inches) was a fluffy and not-so-sweet pumpkin cake; this choice of a fluffy cake, although done on request of the bride, turned out to be not so wise. But before we get to that let us go through the other two tiers. The middle tier (9 inches) was a classic vanilla. The bottom tier (12 inches) —taking the longest to bake as it needed three layers and we only had one pan the large— was a mocha spice cake. Once baked, the cakes were frozen.
The second week was assembly. The first couple days of the second week were for fillings and glazes. First thing I made was a simple sugar syrup which would be sprinkled over each cake layer to rehydrate before stacking. The middle tier needed a chocolate filling. For the top and bottom tiers: caramel sauce.
The rest of week was devoted to frosting. Frosting each tier probably took the most time of the whole project.
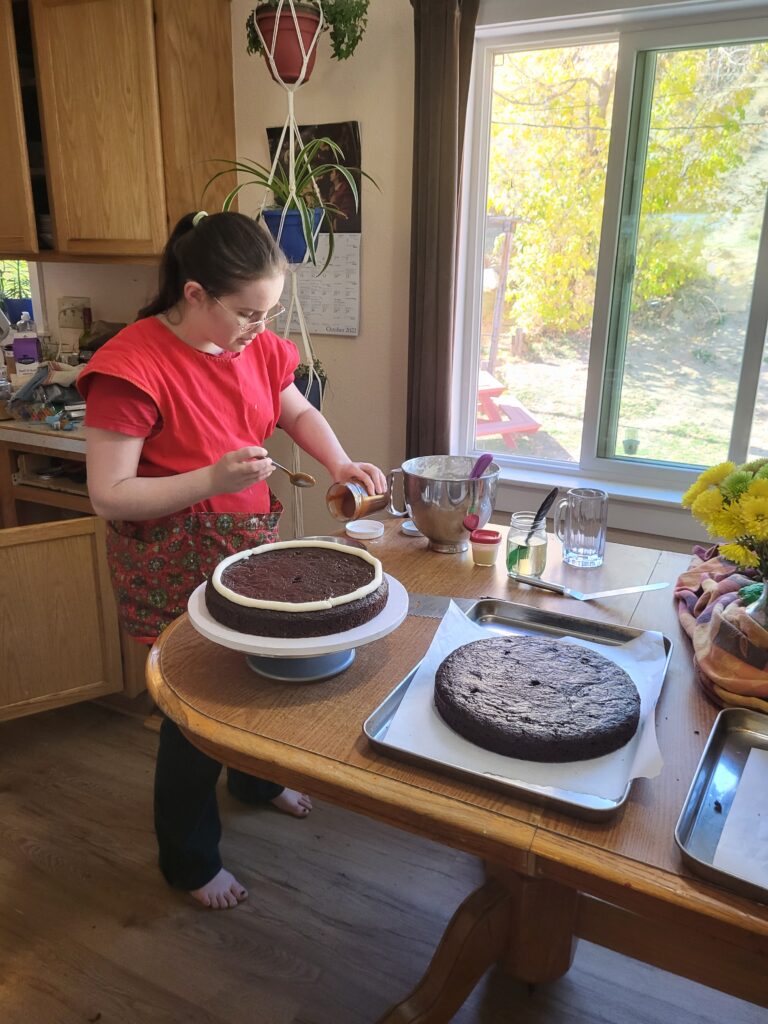
The bottom and middle tiers took a while but were fairly straight forward. As I mentioned earlier, the problem arose when it was time to frost the top tier. Being a light and fluffy cake, the cake layers had a tendency to wobble around. But the genuine problem was the crumminess. The pumpkin cake shed crumbs into the frosting such that there was no way to get a non crummy outside even with a refrigerated crumb coating. Fortunately, the solution in the end was to freeze the cake and frost it while entirely frozen.
The morning of the wedding, I cut and stacked the cake.
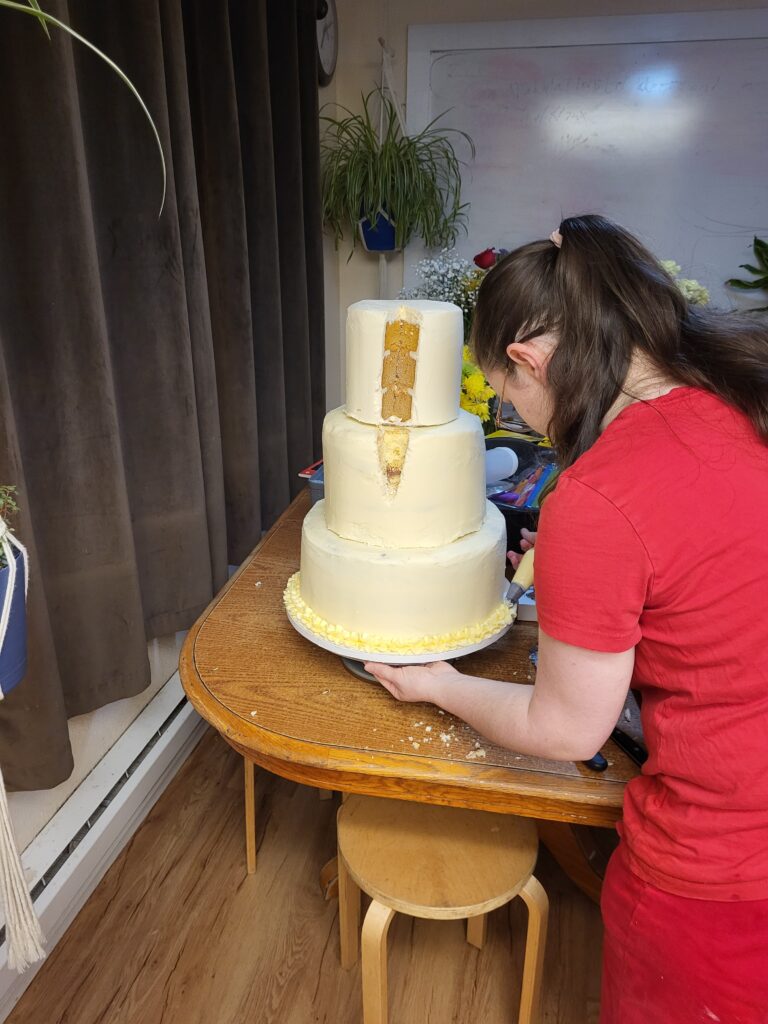
I can already hear you saying, “Cut? But that comes much later!” Ah, yes, except …today we are creating a flower cascade which needs a slit to fit all the flowers. The photo above shows the extent of the cut. As you can see, not a very big cut. But if it had been any bigger, the cake would have leaned toward the cut.
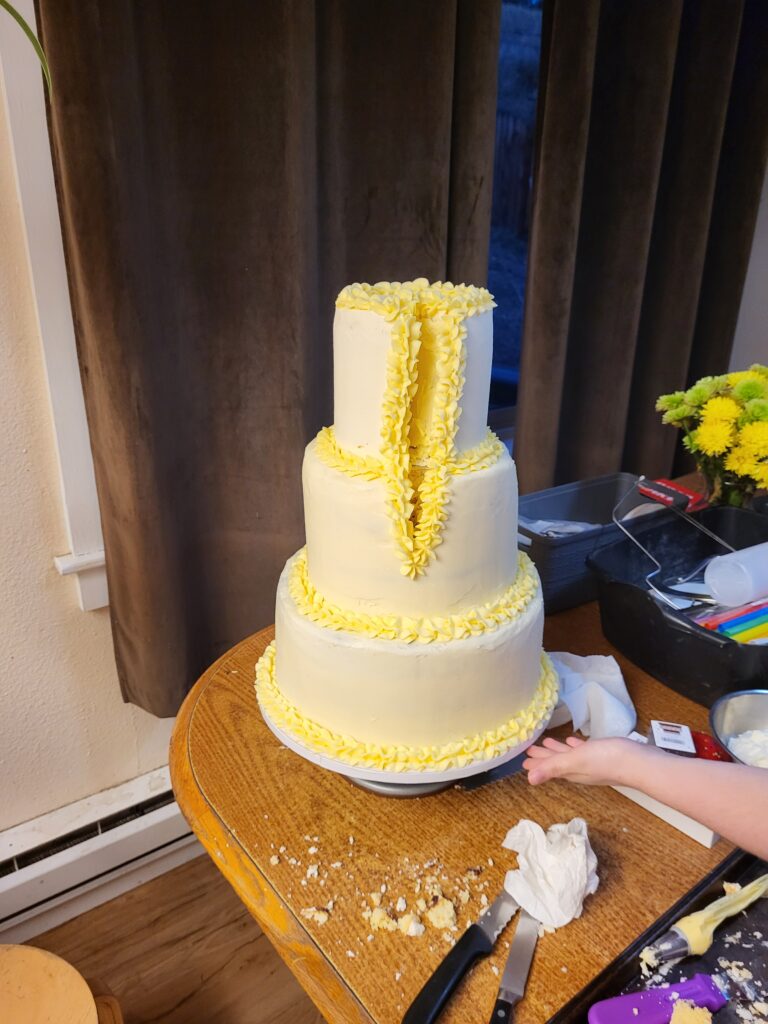
Then I piped around the edges of the cakes and around the cut.
The next step was one of the funnest and most unnerving. The flowers. I started out with simply a few of the biggest statement flowers so that I could figure out where each flower should go.

Then I just filled in the gaps from there, trying to get the variety of colors spread out over the cascade. After completing the flower cascade I added a couple small bunches of flowers onto the sides of the cake. Then I piped a white frosting border next to the cascade for adding gold star sparkles too. (The sparkles did get a BIT out of hand, but, what else could be expected of something that shiny?)
The final step was transporting the cake to the reception destination and adding a few gold origami cranes my sister had folded. And *sigh of relief* I was done.
