You probably are a little freaked out and overwhelmed simply from reading the title of this post. Take a deep breath, calm down. A wedding cake is not that hard.
The first steps is to make the cake layers: three six inch cake layers, whatever flavor you please, I did lemon chiffon. Now a heads up here, although the chiffon is lighter and will not weigh down the other tiers as much, it is much squishier and may fall over if left sitting out for a number of hours; it was definitely leaning after the sitting out for awhile.
The next cake layers are the eight inch. These are little strange on my mock wedding cake, being low carb, gluten free raspberry cake. They were very, very skinny and the tier ended up using five layers. Not the kind of cake that works well in a wedding cake, but was requested by my grandmother for this particular cake.
The bottom layers are twelve inches. The flavor? Mocha spice. These layers were amazing. The cake worked really well as a bottom tier and will definitely be used for an actual wedding cake.
For a three tiered cake, you need a lot of internal support. The main support will be a wooden or plastic dowel rod down the center of the cake.

Since you will be freezing your cake layers so that you can make them a couple weeks in advance, you need to punch the hole for the dowel rod in each layer before you freeze them.
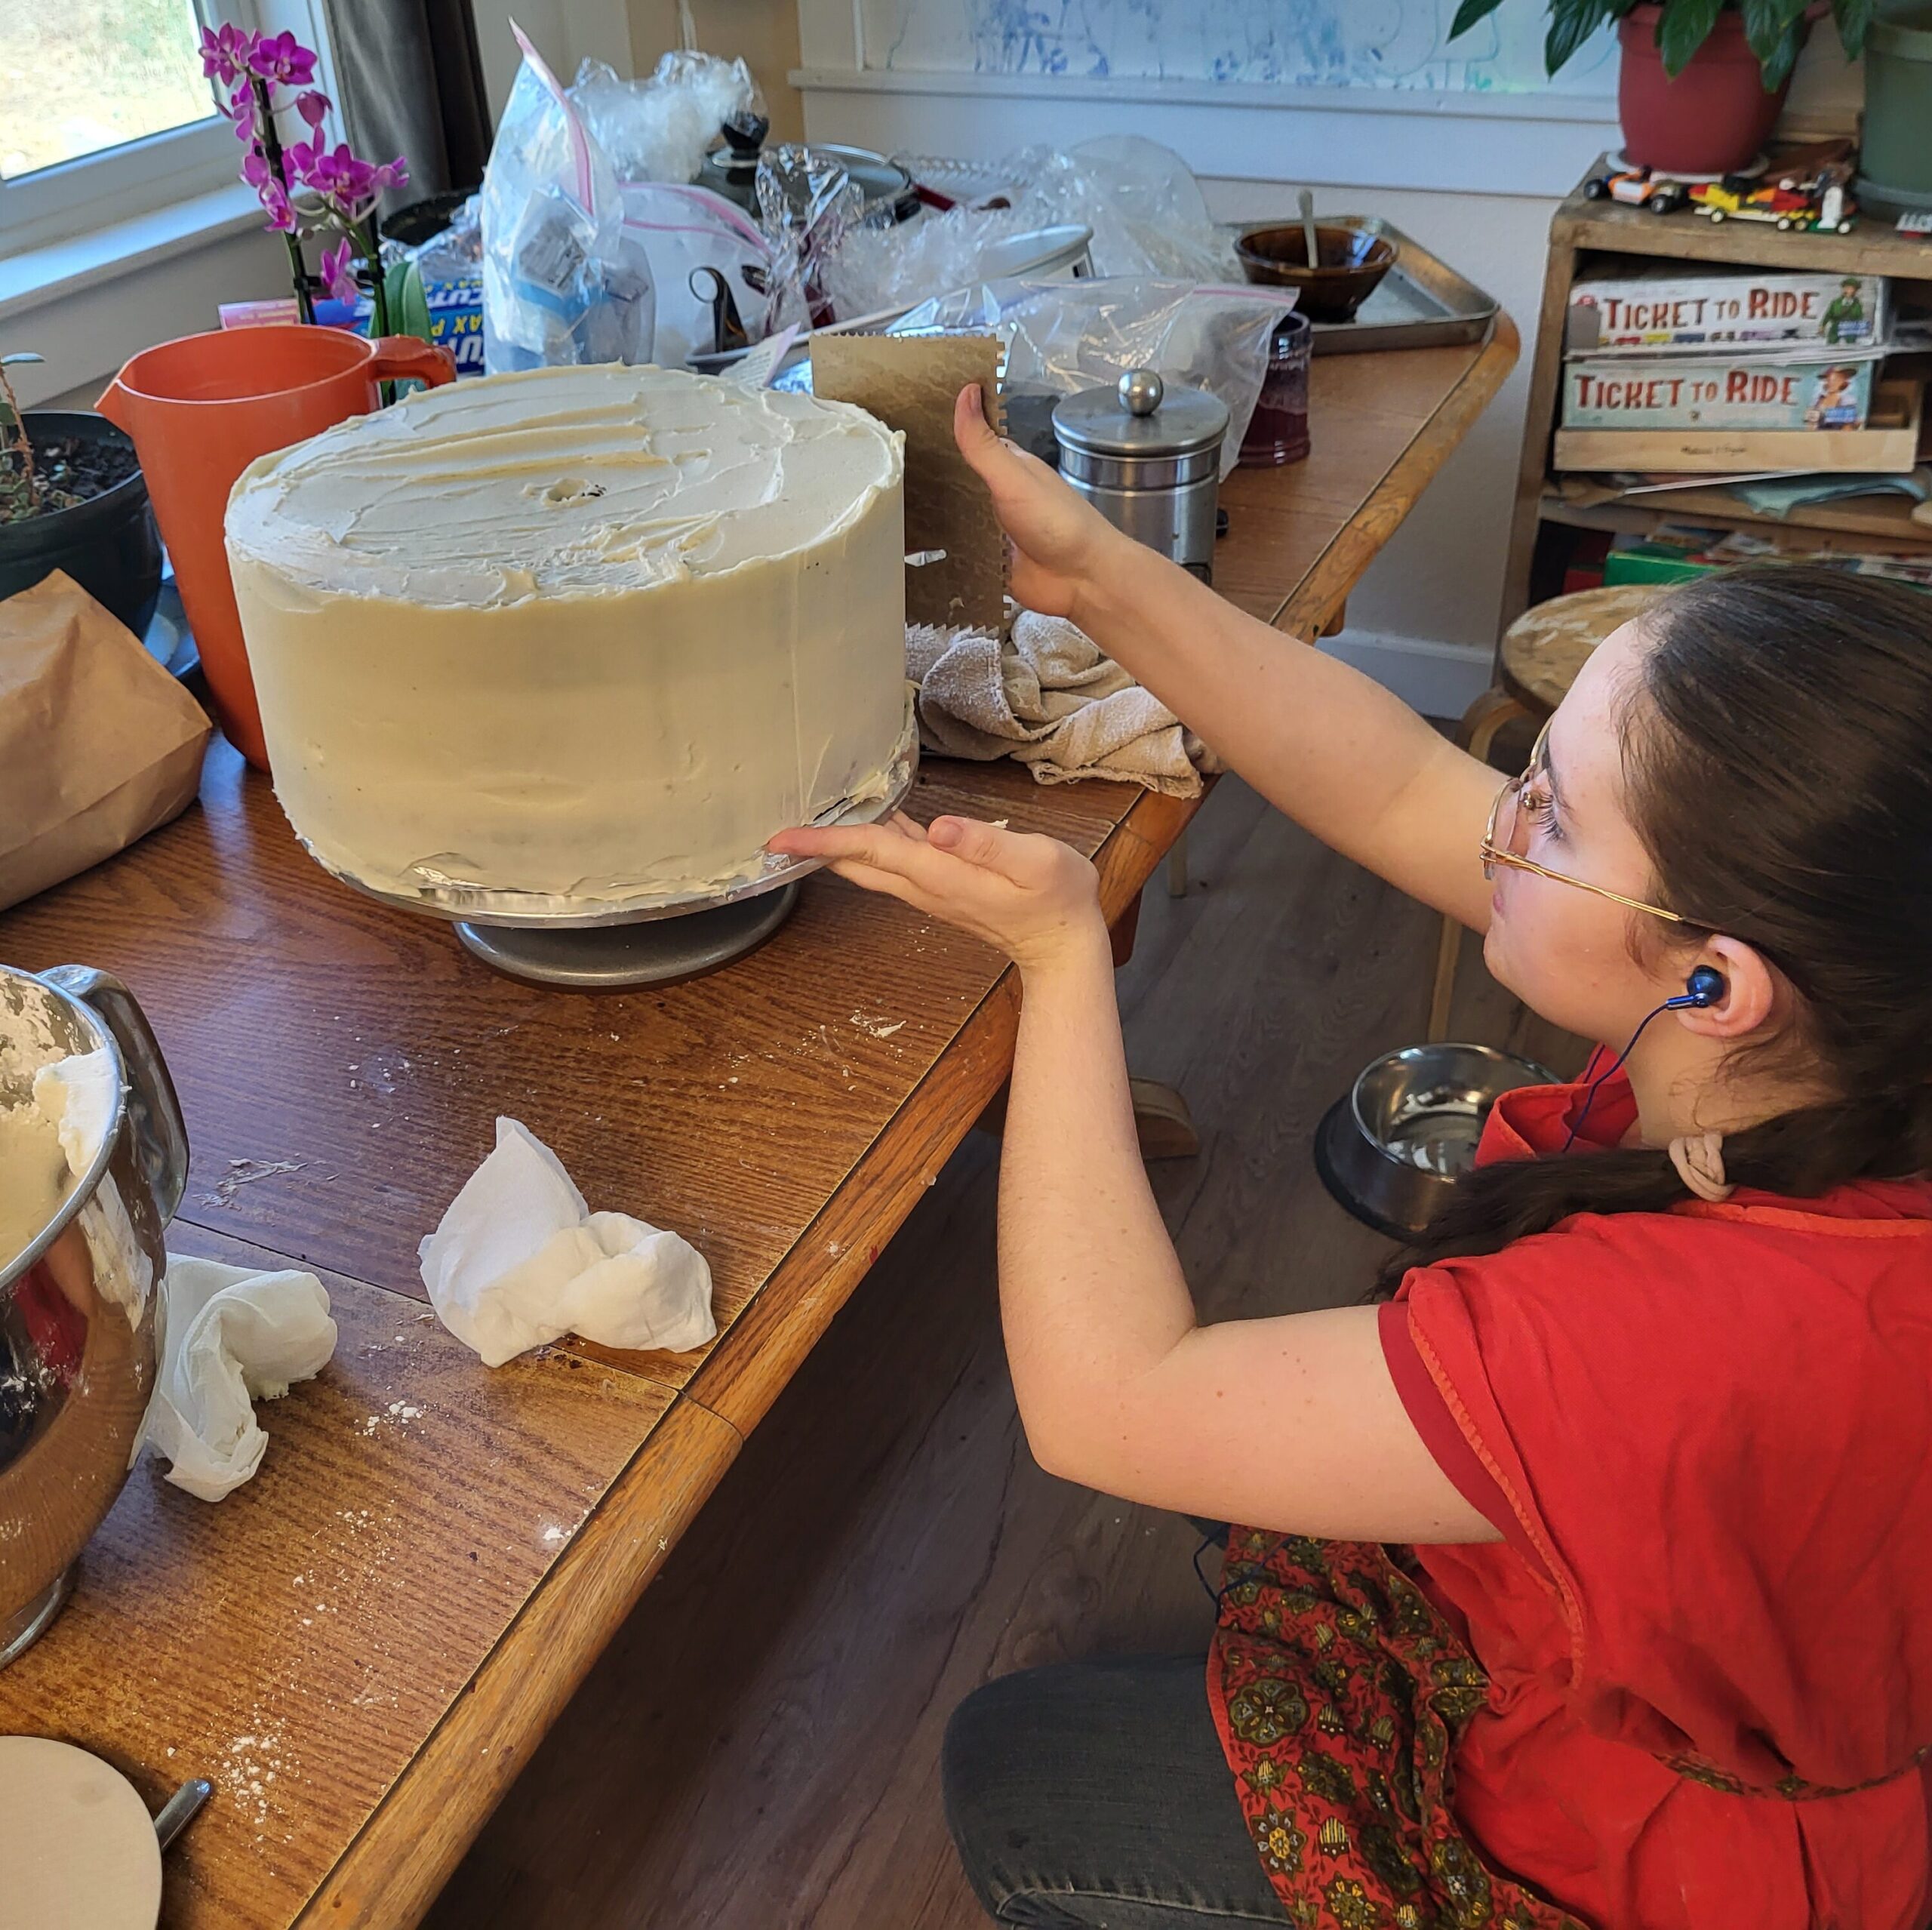
Then you are going to separately frost each tier and return to the freezer.

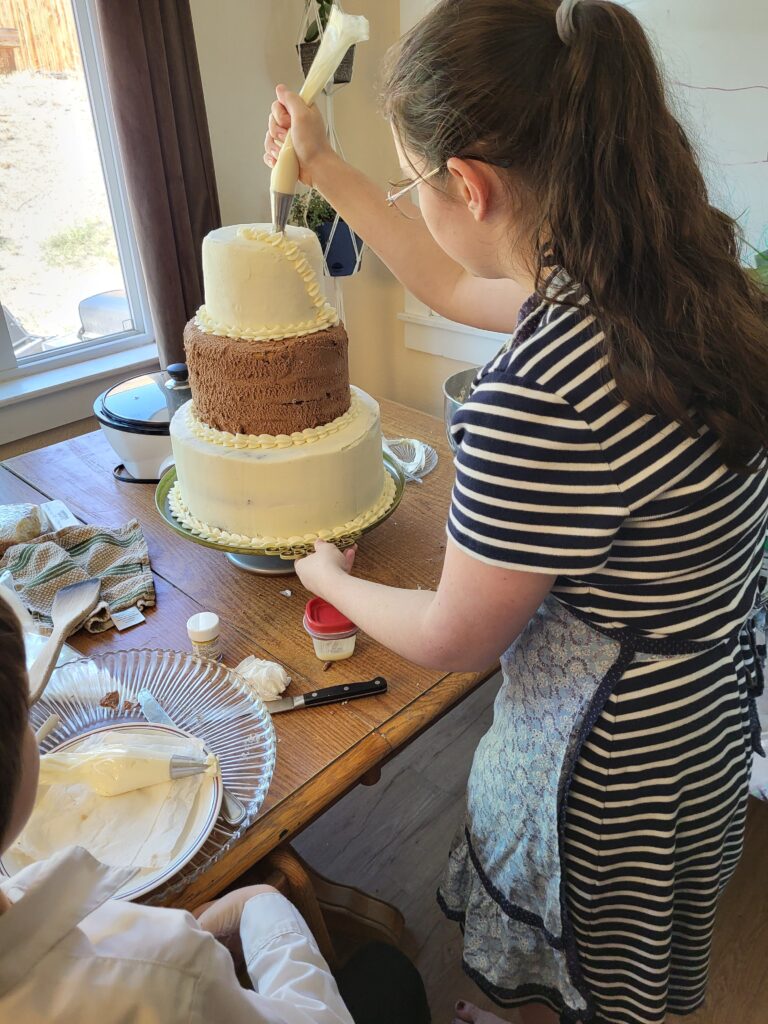
After you have stacked the cakes they won’t be very pretty, but once you add some piping around the edges to smooth them out, you get to the fun part: DECORATION!

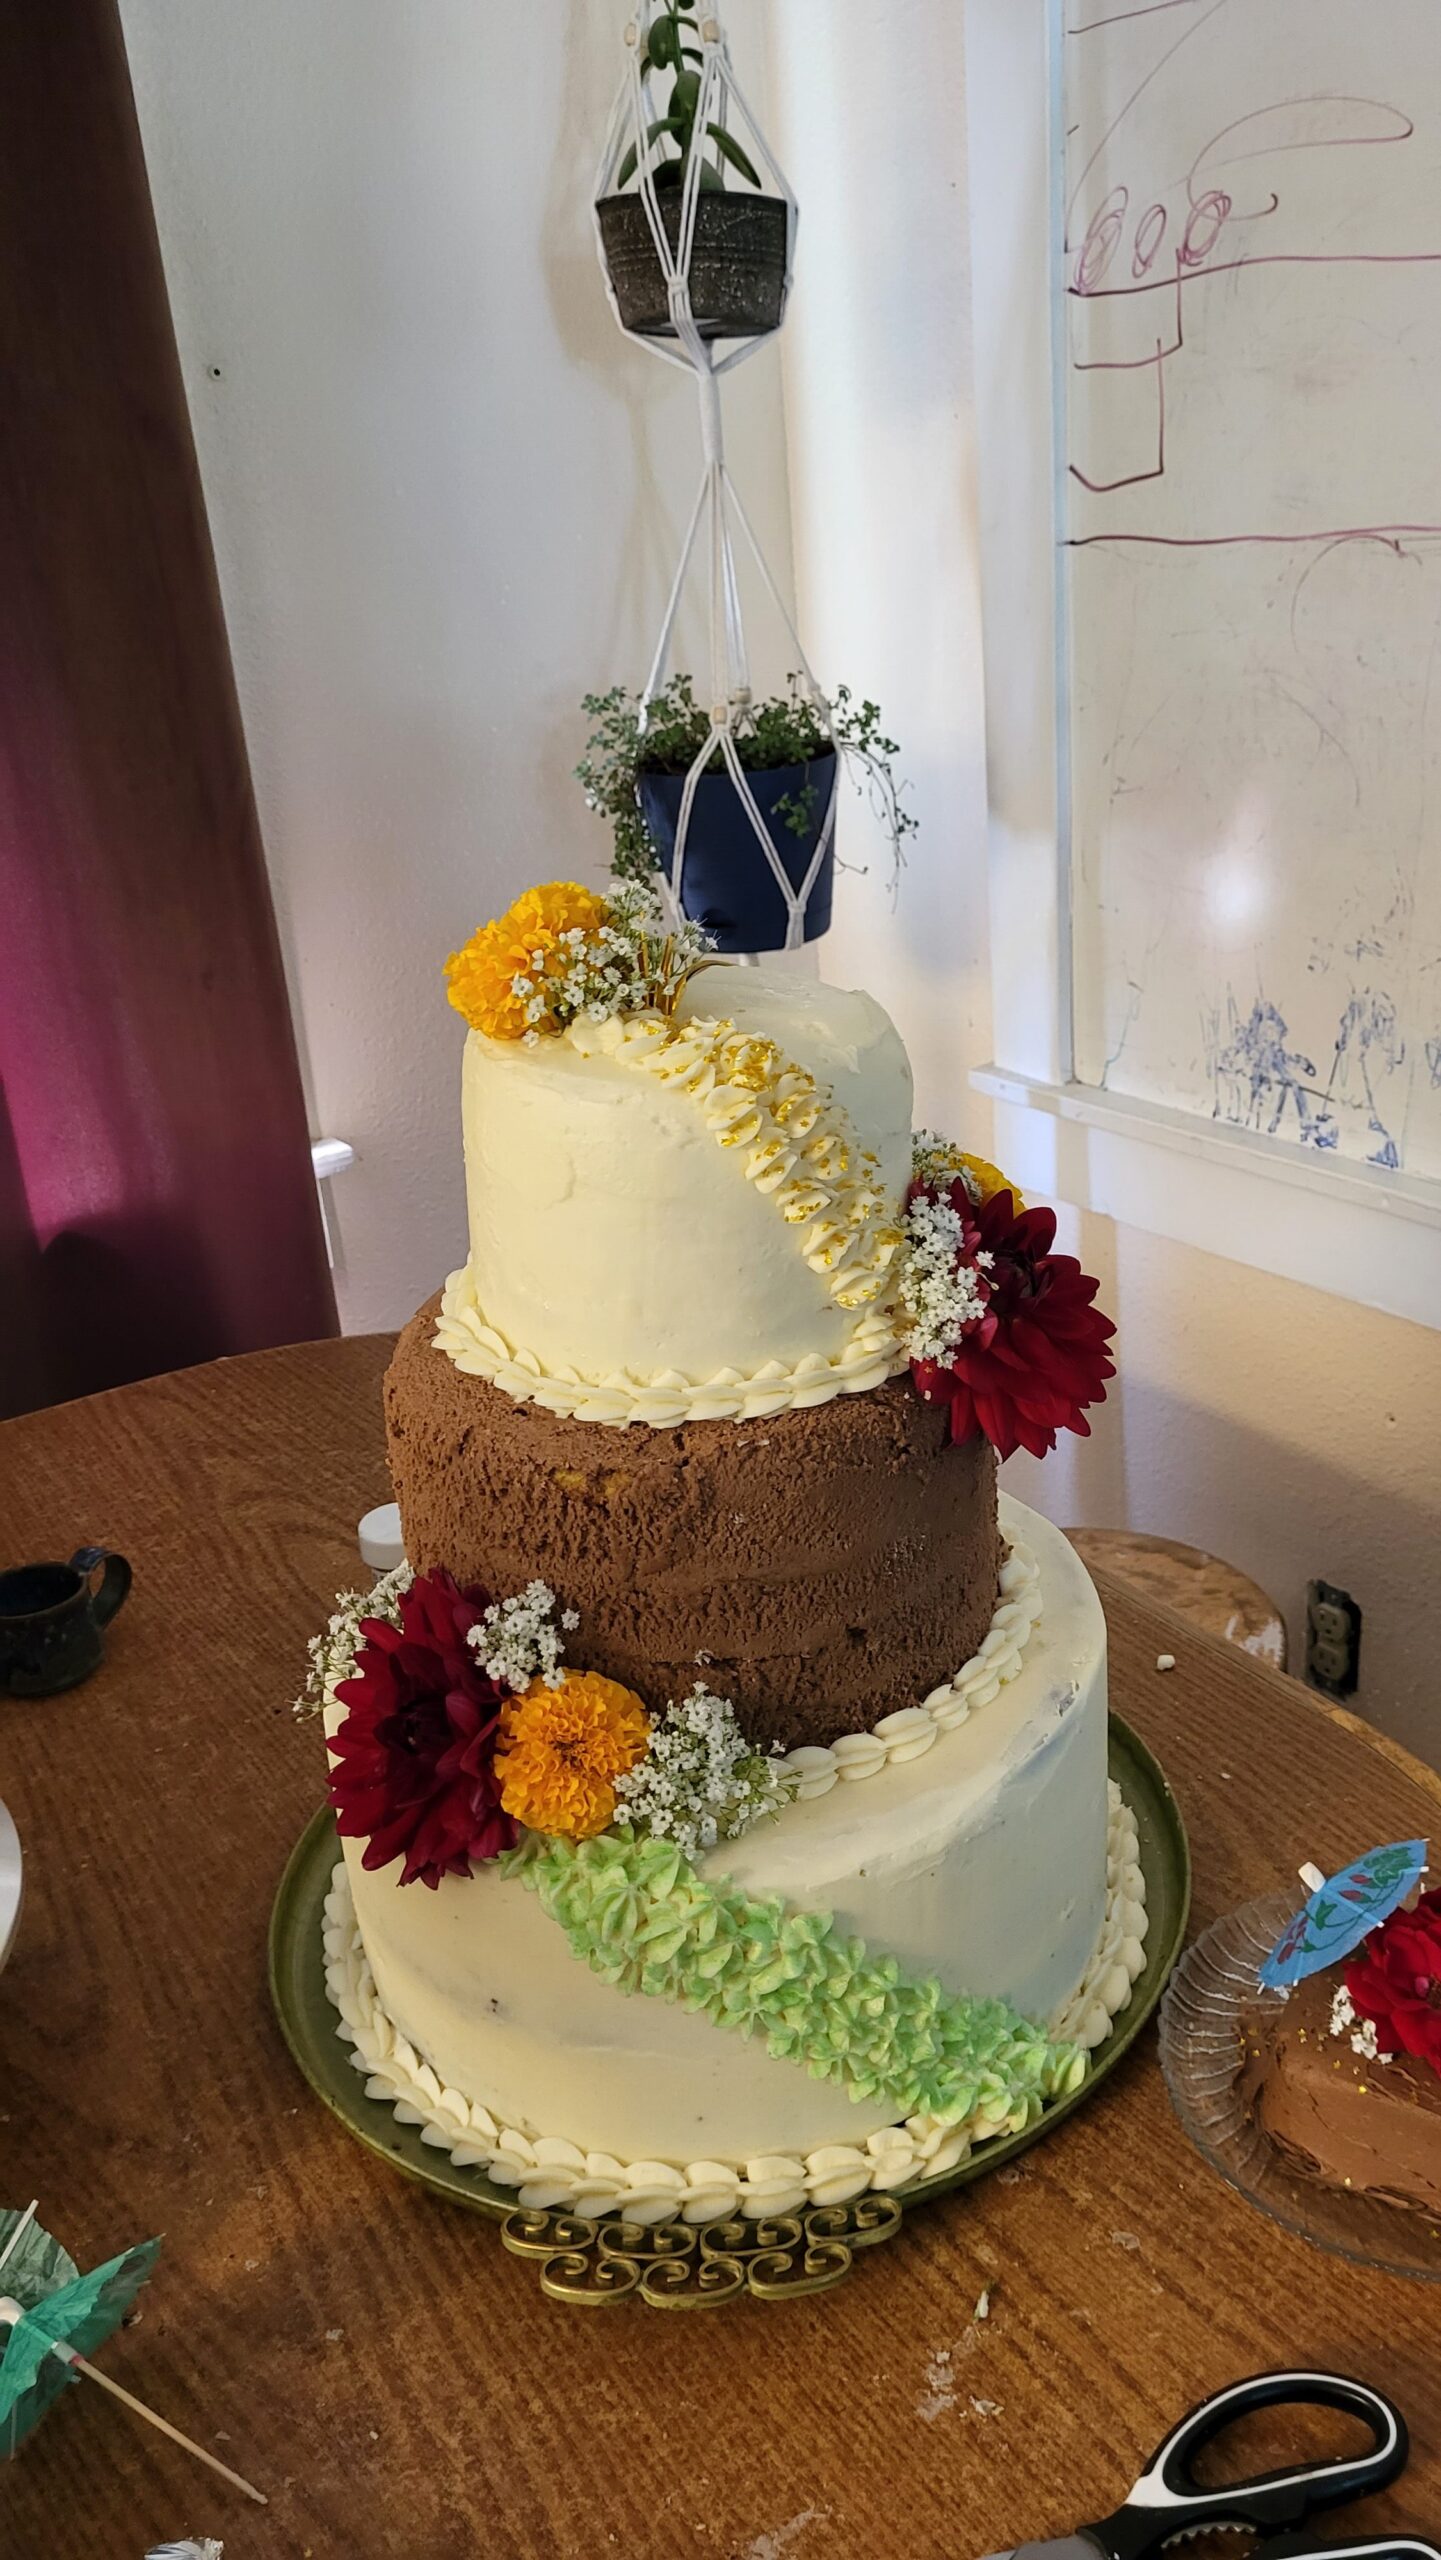
On this particular cake, I did piping with luster dust and sparkles followed by some flowers, and, if you look closely, a small golden paper crane at the very top.

Now, I know this isn’t perfect, but nothing is.
And the best part: your turn!
…Yes, I just said what you think I did. you get to make the cake too! Go on! You’ll never find out how fun it is if you don’t do it!
So make that wedding cake!
